Building a Website for an Interactive Musical

This summer my partner wrote(!) and performed in(!) an original musical called Island Dating Show, a parody of Love Island.
If you have been living under a rock, Love Island is a reality dating show in which “hot bombshells move to a luxury villa in the hope of finding love and the summer of their life.” Throughout each season, the at-home audience votes for their favorite couples and islanders, ultimately choosing the couple that wins the show (and, maybe more importantly, the cash prize).
It then followed that Island Dating Show, needed live audience voting as well, to stay as close to the source material as possible. And that’s where I came in. Having only seen a couple of episodes of Love Island, and in no way able to write a musical, I was not going to be much help on the content. But I sure can make a website where you click a button and something happens.
Artists and engineers
Artists working with engineers have a long history that I have always been fascinated by. A few years ago, I saw an exhibit at the Getty, the best museum in Los Angeles, about a 1966 event called ”9 Evenings: Theatre & Engineering.” The event brought together 10 artists and 30 engineers from Bell Labs to “showcase the possibilities of marrying their skills.” It was planned by a group called Experiments in Art and Technology (E.A.T.), created by artists Robert Rauschenberg and Robert Whitman in collaboration with Bell Labs engineers Billy Klüver and Fred Waldhauer.
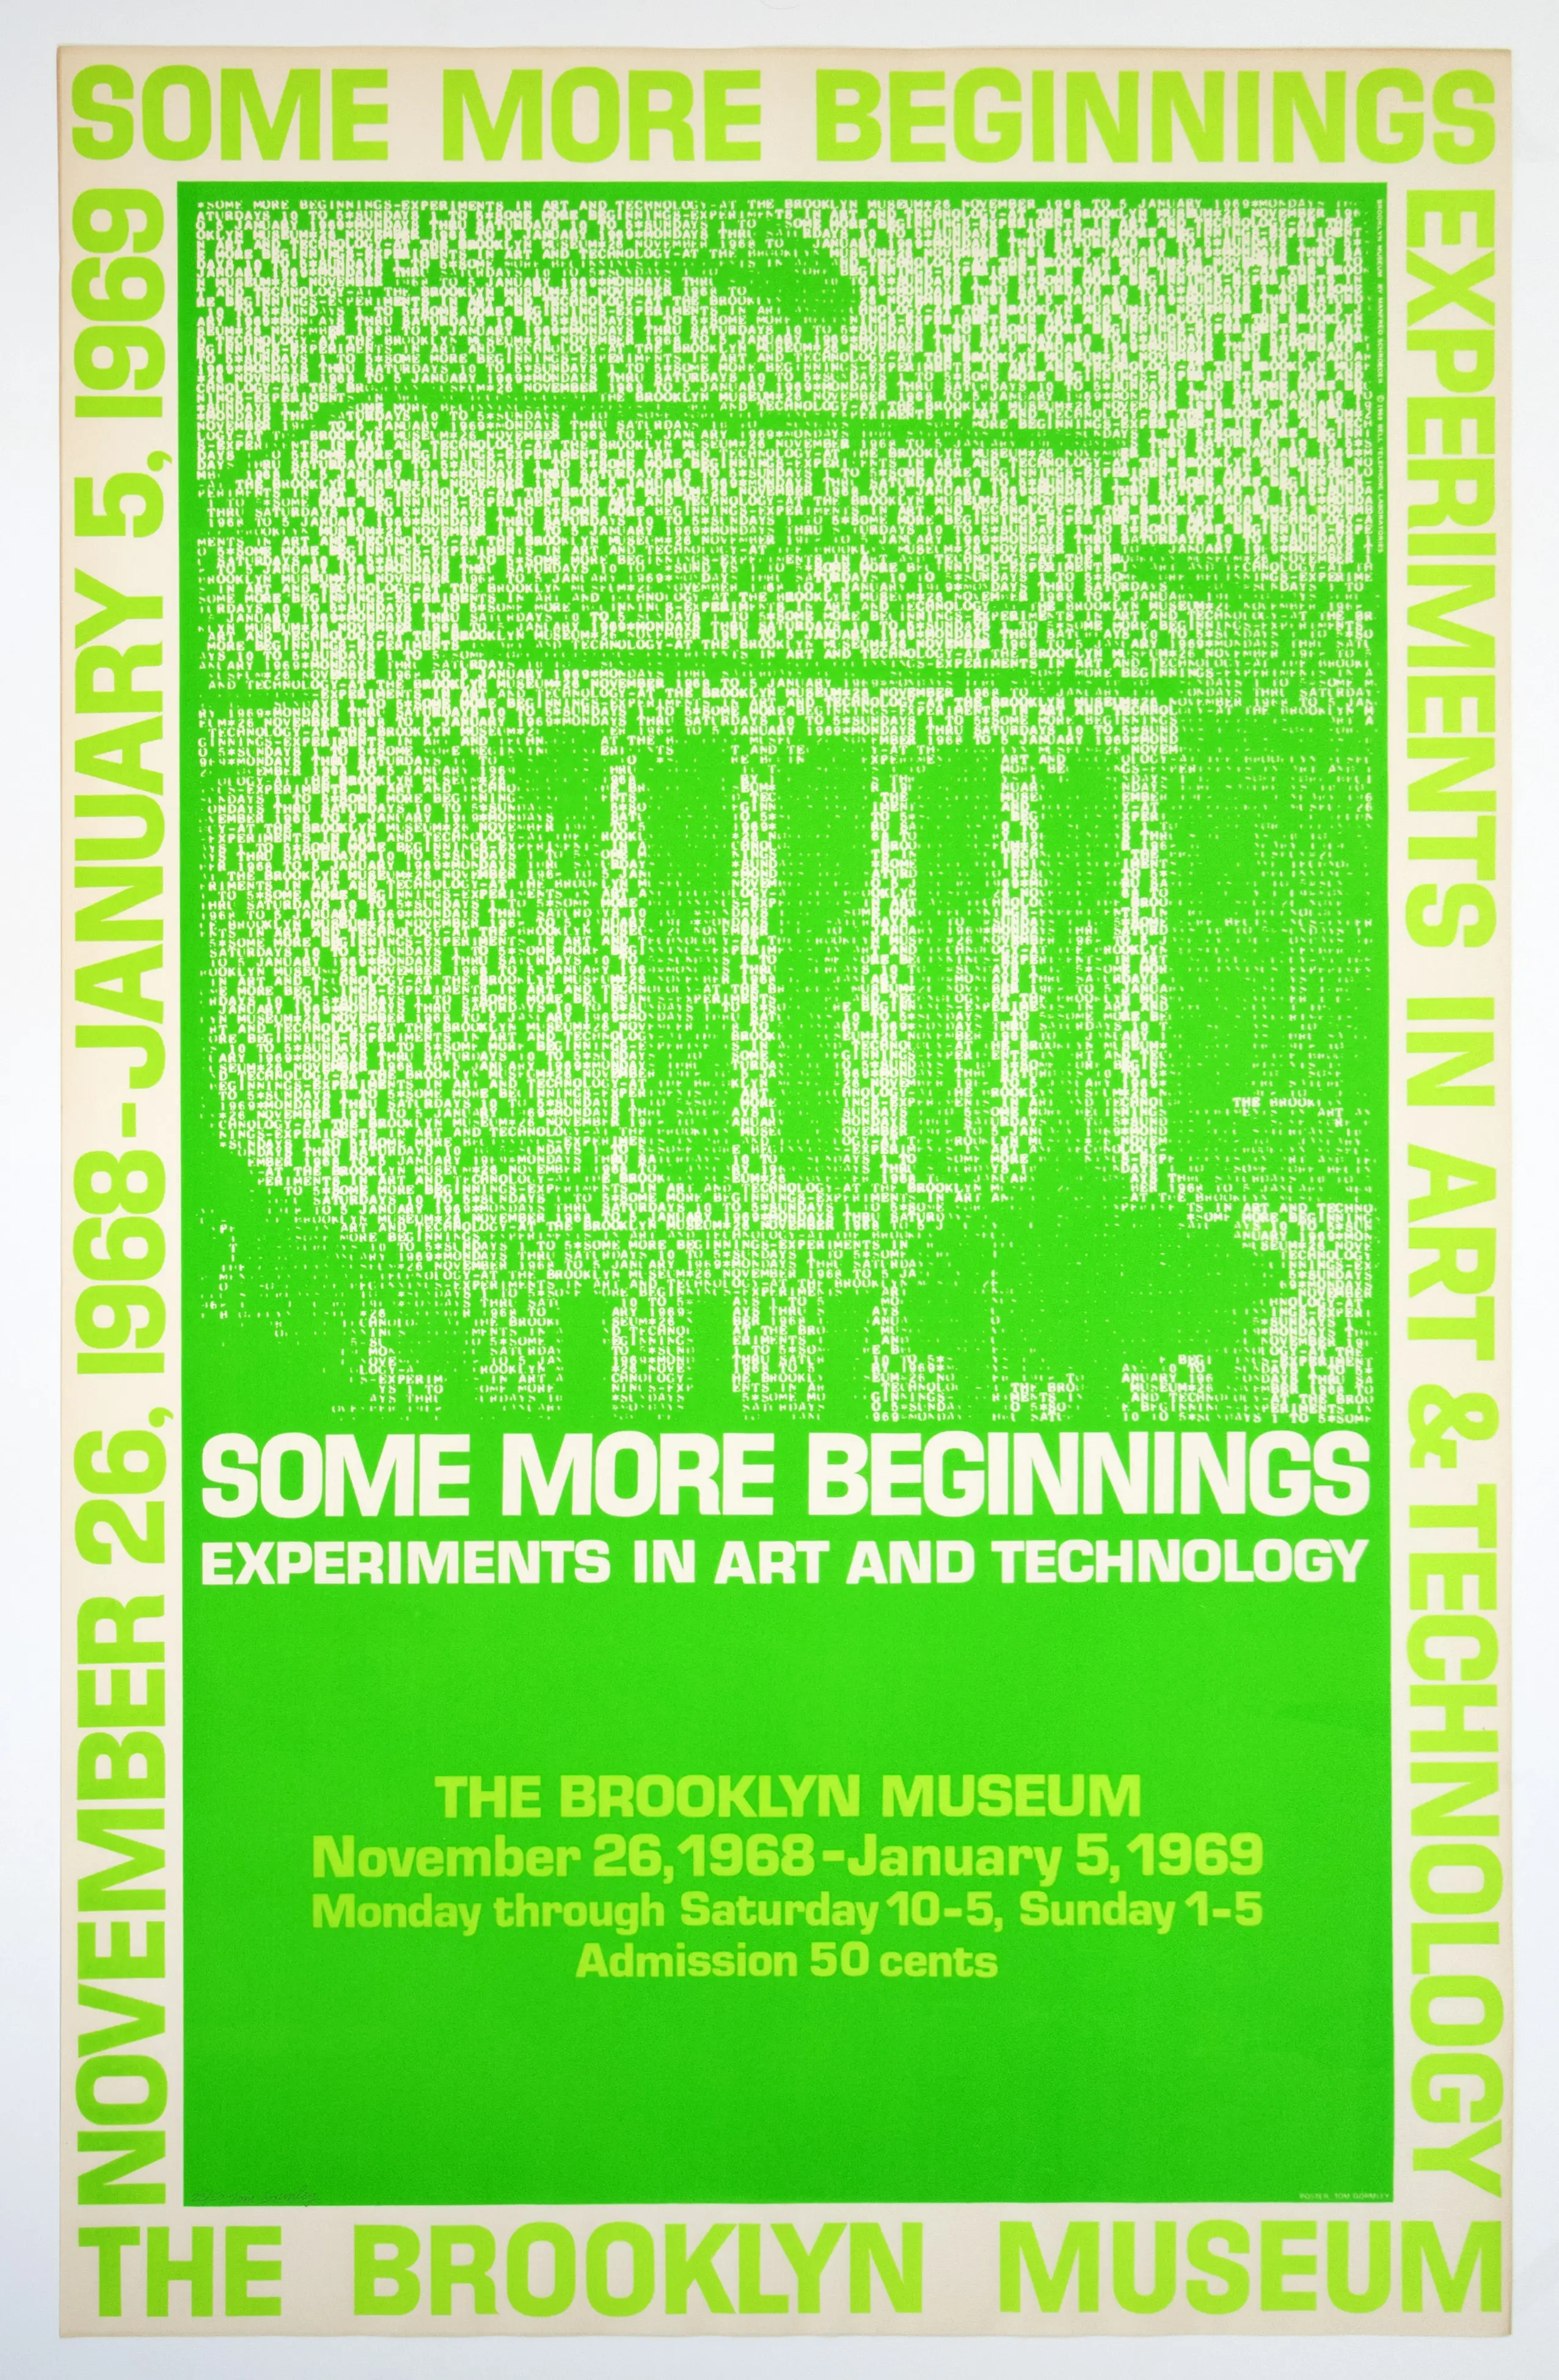
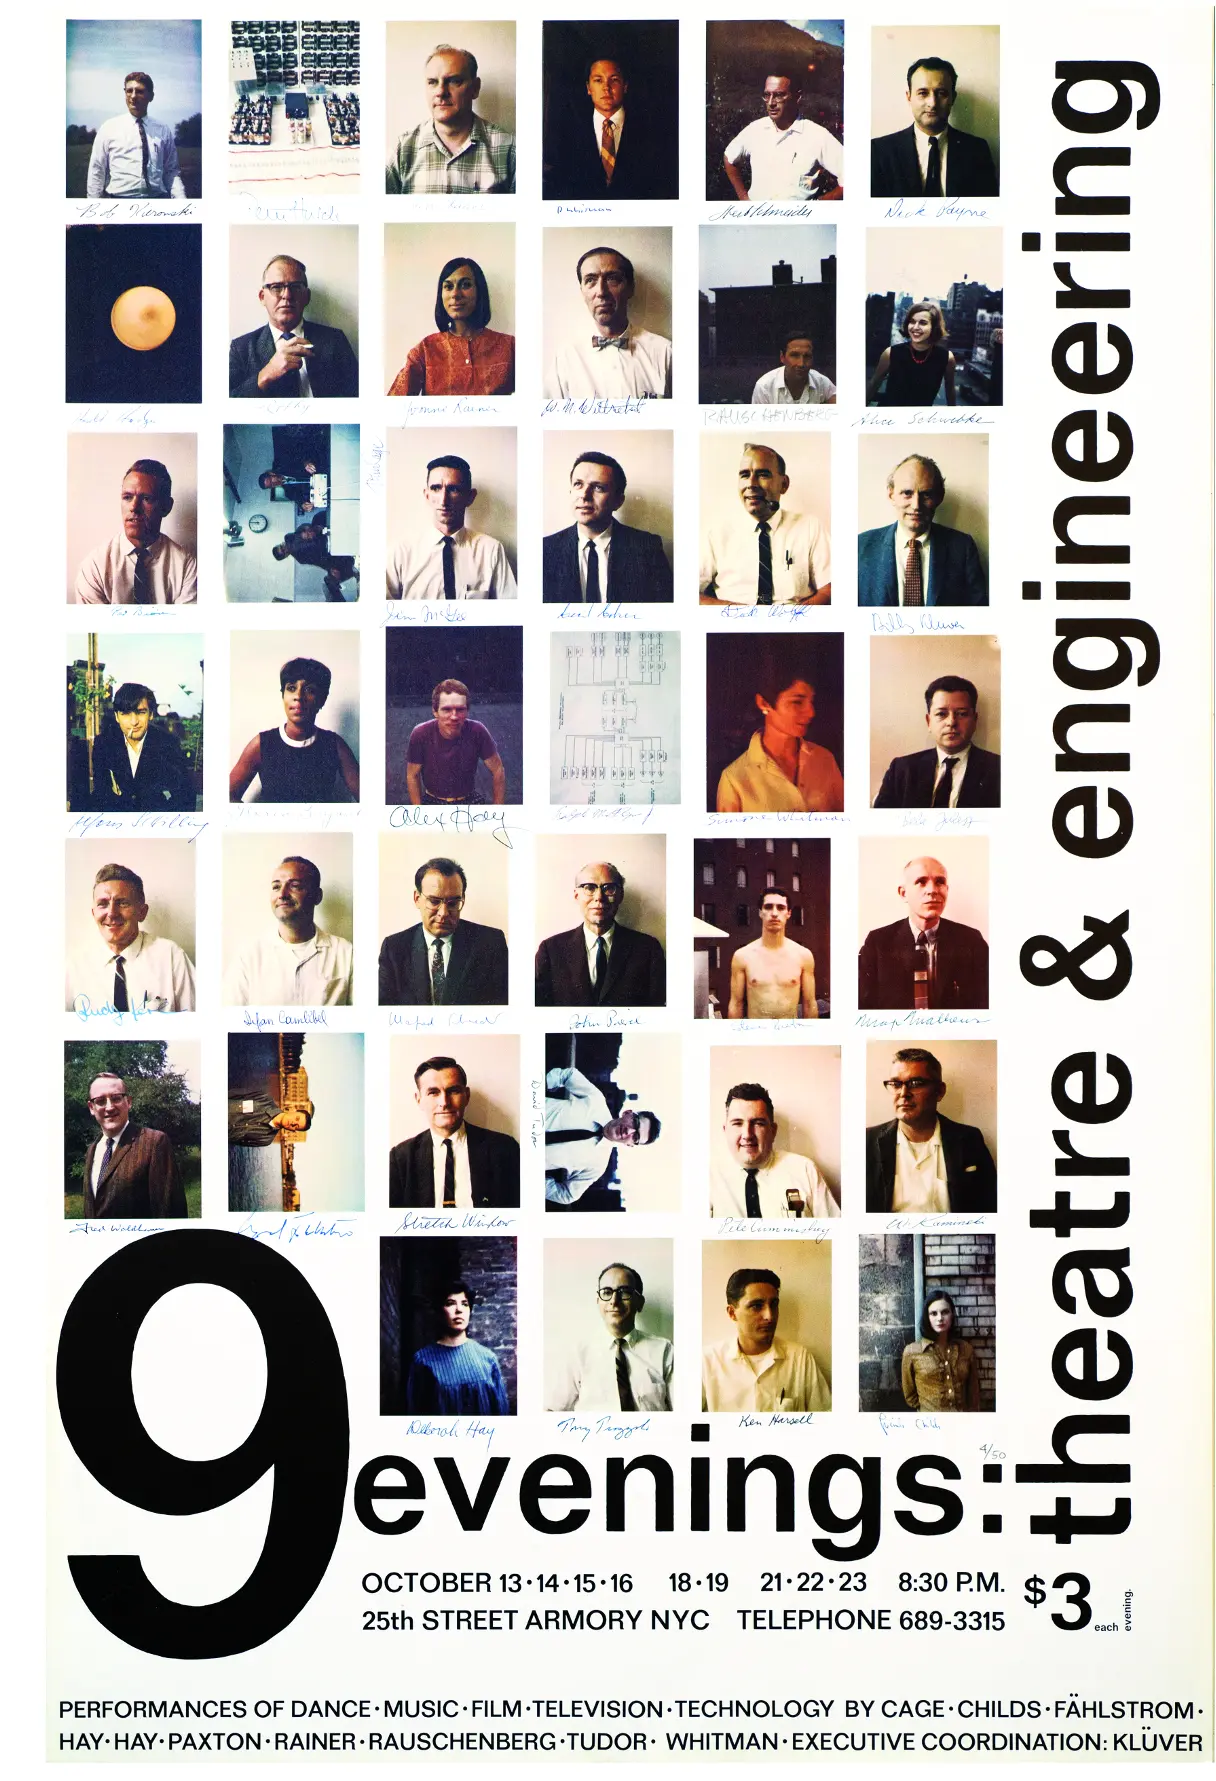
This group’s exhibits laid the groundwork for the much more common “interactive” exhibits we see today. I have always viewed technology as a creative tool, and this project is one in a long lineage of collaborations between artists and technologists. Here’s to more projects like Island Dating Show that merge art with technology!
The app setup
A few requirements and some (self-imposed) constraints guided the architectural decisions:
- the show had a specific design aesthetic to capture, and I wanted to avoid translating design work into code as much as possible,
- audience members needed to be able to vote on their phones,
- the audience needed to see the right vote at the right time and stay “synced” with the on-screen visuals,
- the on-screen visuals needed to display the vote results immediately,
- the on-screen visuals needed to show certain videos or slides depending on the result of a vote,
- the flow of the show and the visuals would change during rehearsals, so there needed to be a way to ingest updates easily and often.
Given all of this, I landed on a replicable setup that made building the site iteratively easy. The process looked like:
- My partner designed the slides in Canva, with placeholders for the dynamic slides that depended on the outcome of a vote. She also created a spreadsheet that assigned a unique ID to each slide in Canva and served as the “run of show.”
- The Canva slides were exported as a PDF to keep them vectorized, and thus high res at any size. Each page was then converted to a webp image to retain quality but lower file size. This meant I never had to design a slide in code.
- The spreadsheet was downloaded as a CSV and used to set the order of the slides and to know when to swap out the placeholders.
- I built a series of components in Svelte to handle the logic of the voting results pages and to load a certain video depending on the winner of a vote.
- Each time the stage manager advanced the slides, a state was updated in a database. The audience page route used that state to show the audience the correct thing.
So when the design or order of the slides changed, updating the visuals was as simple as re-downloading the run of show spreadsheet and the slides.
Technical challenges
Live updates: polling vs. websockets
The app needed to check the results of the votes in real time, so that when the results slide went up, it was current. There are two main patterns I considered.
The first, and the simpler one both conceptually and to implement, is polling. The idea is to repeatedly ping a source of information at some constant interval. In my case, the web page would query the database every N seconds to get all the votes recorded so far. It can be resource-intensive, though, and if N is too large, there is a delay before you get new information.
The second is a more modern approach: websockets. The main concept is that your app and your server open a persistent connection through which information can travel in both directions. Rather than your app polling the server, whenever the server gets new information, it simply sends it over the open connection. Websockets are often used for multiplayer games or live chat apps, where very low latency and real-time updates are the goal. They require more technical setup, though, and you have to worry about dropped connections.
While I have wanted to work more with websockets, this wasn’t the project for them. I went with polling since there was no need for instant results and there were predictable moments when the results needed to be fetched.
Media-heavy projects
Because of the way I architected the site, most of what got displayed was images or videos, with only a few moments of dynamic pages built in code. My understanding of best practices here is to convert all the media to web-friendly formats: .webp for images and .webm for videos. I use cwebp, built by Google, for images and ffmpeg for videos. These formats maintain almost all the quality to the human eye but are often a quarter of the size. The second optimization was to host all the media in cloud storage rather than including it in the build.
There are numerous other optimizations for media, including using a CDN to push content to the edge for faster loading, delaying the loading of certain files until they are needed (“lazy loading”), and prefetching files so they are ready by the time you actually need them. Some sites start loading a link when you hover over it instead of when you click, to ever so slightly speed things up.
Free tier projects
As much as I would love to self-host everything and get off big tech infrastructure, these companies (AWS, Google, Microsoft, etc.) are behemoths for a reason: their products are stable and relatively simple to use. There are also many companies whose whole business model is to build services on top of that infrastructure, and because of the way startups and venture capital work, hobbyist and free tiers can be quite generous, making many projects free to host and run.
This website used:
- Vercel Hobby Plan to host the SvelteKit app. With a simple app and at most ~50 people using it at once, I was nowhere near the limits of the tier. $0 spent.
- Neon Free Tier as a serverless database. I had a few tables with ~1,000 rows of data in total. Text is tiny, so again, I was nowhere near the 0.5 GB limit of the free tier. $0 spent.
- AWS Free Tier to store the images and videos. Everything was converted to webp or webm to limit file size, so I stayed well under the 5 GB of storage and 20,000 GET requests. This is the one I feel most compelled to switch to a cheaper cloud storage provider. $0 spent.
- Squarespace Domains to buy a domain. Most hosting services make it very easy to set up a custom domain, and I think it’s a nice, cheap touch to replace the weird domains that services like Vercel or Heroku give you. It is ~$15 a year for most domains. $15 spent.
The total cost of the project was the price of the domain. Otherwise, I did not pay a single dollar to host or run it, which was pretty nice. Something worth exploring more is sharing infrastructure with others, so that hobby projects like this one, and more serious ones, can run on affordable servers not owned and managed by Big Tech.
As with all my projects, feel free to explore the code.
want to stay up to date on my latest projects and blog posts?